

1 Populating the players, attendance, and advancement tables currently requires that the same set of procedures be executed on both the local and remote system.
1.1 The local system is always updated first.
1.2 In all cases the source for the progam that establishes the defaults must be be transferred. If WAMP was used to create the database environment, the programs reside in the www folder inside the wamp folder. On the remote system (currently iPower) those programs are in the folder public_html.
1.3 In most cases one or more data files must also be transferred. On the local system those files reside folders in /District 25/Database. The documentation for the individual procedures identifies the precise location.
2. This documentation will use as an example the transferring of files associated with processing of rosters received from the ACBL.
2.1 One program, DM001A, is transferred from wamp/www to public_html.
2.2 The six data files to be transferred reside in /District 25/Database/Rosters/YYYY/Mmmmmm, where YYYY is the year and Mmmmmmm is the month. The files will be transfered to public_html/Rosters/YYYY/Mmmmmm.
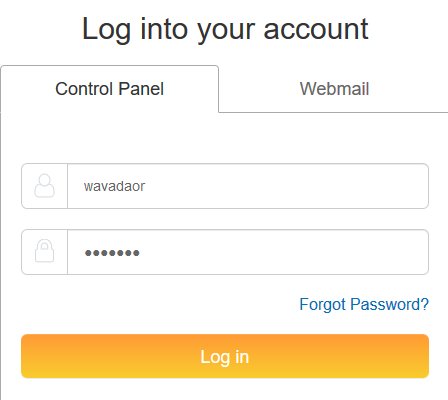
3. Direct the browser to iPower's login screen, https://www.ipower.com/controlpanel/beta/. The user is wavadaor. You should have the password. If not, contact the previous database manager.

3.1 Click on “File Manager.”
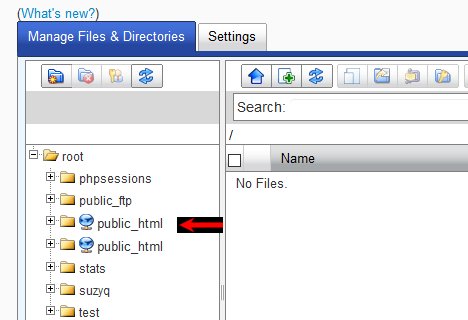
3.2 Either the progam or the files can be transferred first. This example will begin with the program. Click on “public_html.” If there is more than one entry, click on the top one. It may take a minute or so to load this because there are a lot of scripts here.
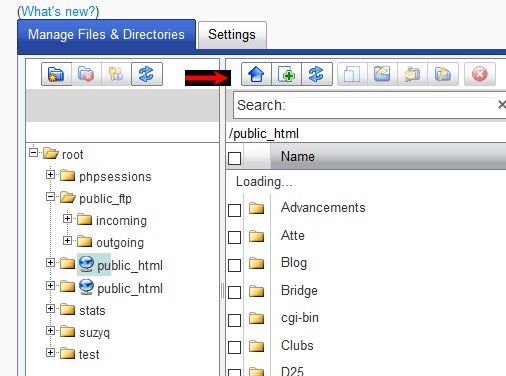
3.2.1 In the right column, click on the fat upward-pointing arrow above the word “Search:”

3.2.2 Click on “Browse.”
3.2.3 Browse through the local system's file structure until you find the folder in which the php scripts are stored on the local system. It will be something like c:\wamp\www.
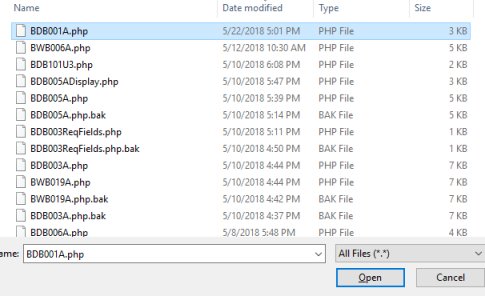
3.2.4 Select the program, in this example, BDB001A.php.
3.2.4.1 You may need to adjust the pull-down menu above the Open button so that it says All Files (".").
3.2.4.2 The easiest way to find the program is to click on “Date modified”. Since BDB001A.php was the last program that you modified, that should bring it to the top. Click on “Open”.
3.2.5 Click on “Upload.” It should only take a second or two.
3.3 Upload the data file(s). Click on the + sign next to the target folder, in this case Rosters under public_html.
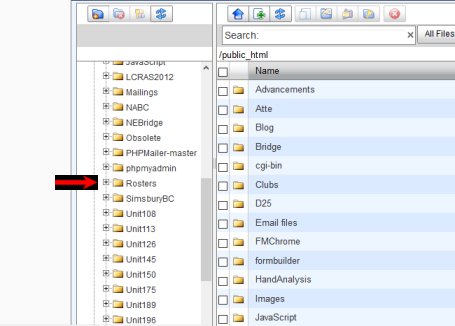
3.3.1 Click on the + sign next to the folder for the year. If the folder for the year has not been created yet, do so using the leftmost button at the top of the column.
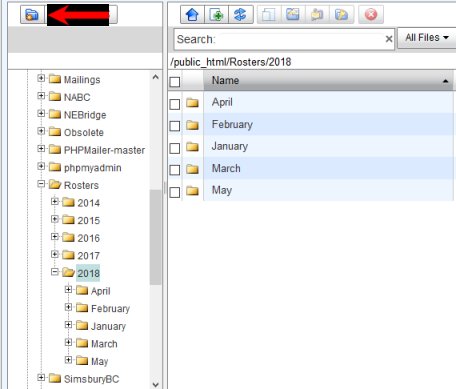
3.3.2 Click on the month. If the folder for the month has not been created yet, do so using the leftmost button at the top of the column.
3.3.3 The rest of the process is essentially the same as for the program. In the right column, click on the fat upward-pointing arrow above the word “Search:”
3.3.4 Click on “Browse.”
3.3.5 Select the folder in which the raw data is stored on the local server.
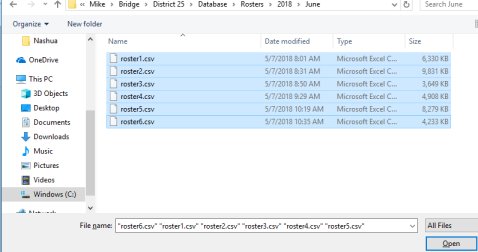
3.3.6 Select the file(s) that you need. In this case we need all six of the roster files for the month. You may need to adjust the pull-down menu above the Open button so that it says All Files ("."). Click on “Open”.
3.3.7 Click on “Upload.” This may take a few minutes. The roster files (and a few others) are rather large.
